I received a very pretty bright red braising pan from my friends Loretta and Jenny at my tea party bridal shower earlier this year.

It is made of heavy cast iron with enamel coating. The bright red exterior is complimented by a cream-colored interior. The light-colored inside allows you to see your food cooking and browning on the bottom. You can get this same one at Target. It’s good quality, it’s pretty, and it doesn’t cost an arm and a leg! I also have a cast iron dutch oven that I use to braise larger pieces of meat that my husband bought me years ago for Christmas. These heavy cast iron pans will last you a life time if you take care of them. There are so many options, and so many varying prices. You don’t have to buy the most expensive one, but I do think it is important to get one with the cream-colored inside so you can see the food you are cooking!

I have been using this pan a lot lately especially since it started getting chilly outside. One thing that I have been making quite often is braised chicken. I have seemed to achieve perfection when I make chicken this way…. It always comes out sooooo juicy and falls right off the bone. You can make a simple dinner from it with some steamed veggies or you can pull it off the bones and use it in all kind of dishes.
I like to make chicken thighs because I love the dark meat but I have used breasts and even a whole chicken. I buy the bone-in, skin-on chicken and it should be cut into pieces if you’re going to cook a whole bird.
Start by heating the pan over medium-high heat and adding olive oil or butter (or both). Salt and pepper the chicken on both sides and place it in the hot pan skin side down. Leave it alone so the skin sears and becomes brown and crispy. You’ll know when it is ready to turn when it releases from the pan without resistance. Don’t pull the chicken or try to get it unstuck before this point, you’ll just end up pulling the skin off.

Flip the chicken over and let it cook on the other side for the same amount of time, until the chicken releases from the pan by itself, don’t force it.
Add in cut up garlic and onions (or whatever other veggies and herbs you want) to the pan and just saute them for about a minute.
Add in chicken stock until it covers about half of the chicken (usually about two cups). You should be able see the top of it above the broth.

Bring it up to a bubble and then cover it. Turn the heat down to low and let it simmer for about an hour. You can also move the pan into the oven at this point and let it bake at 350 degrees for about an hour. You’ll get pretty much the same result.
If I have large pieces of chicken, I usually put it in the oven. If I am just making a few chicken thighs, I leave it on the stove.
Here’s what happens when it is done…

You can touch it with a utensil and it will just melt apart!
Mmmmm…
You can save the braising liquid to make gravy by adding it to a roux or you can use it in soup. It is packed with a lot of flavor. The onions and garlic become super soft and pretty much just fall apart. You can strain it if you want but I usually just leave the aromatics in it and use the liquid as is.
Here’s a few simple dinners I made:

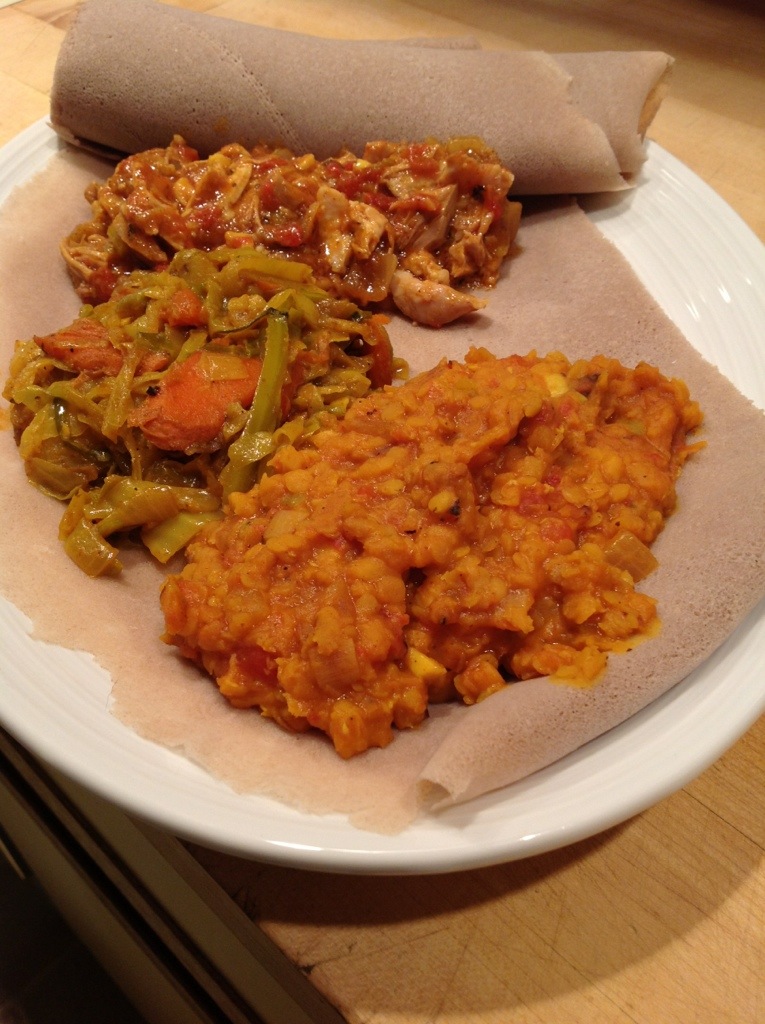
Braised chicken with mashed sweet potatoes and steamed broccoli.

Chicken braised with leeks and white wine added to the braising liquid, sauted mustard greens and broccoli.
This chicken meat is also great to add to soups and noodle bowls, added to pasta dishes, and it is delicious in chicken salad for sandwiches.
I have made several other meats using this method. The cooking time varies but it is the same basic process. Here’s a few more examples…
Braised Short Ribs and Root Veggies:

Dredge the short ribs in flour, salt and pepper and sear on all sides. Add carrots (unpeeled), garlic, onion, and rosemary to the pot and saute for one minute. Use a stout beer as your braising liquid, I used root beer stout home-brewed by a good friend of mine. Add in some beef stock to bring the liquid about up to the top of the meat (about 1 cup). Bring everything up to a bubble, close the lid, and place in the oven at 350 degrees for 2-3 hours (depending on how large your short ribs are). You can check them by pressing on the meat with a utensil. If the meat starts to separate then they are done. The fat in the short ribs with render and they will fall apart and melt in your mouth! The carrots will hold their shape if you leave the skins on, just clean them well.
You can make gravy with this braising liquid or just spoon it right over the meat when you serve it. I served mine atop mashed parsnips.

Ginger Braised Pork:
I used a pretty big pork roast for this – about 4.5 lbs. I had to cook this in my larger dutch oven.

Sear the meat on all sides.

Add in onions, garlic, and two apples (skinned and diced) and saute for about a minute. Add in a bottle of ginger beer – I used a home-brew again made by a friend. You can find ginger beers in some fancy bottle shops or you can substitute with any kind of fall beer or lager. I think it’s important to note that I used beer flavored with ginger, I did not use the ginger beer that is like ginger ale soda- I’m not really sure how that would turn out… probably too sweet but who knows! Leave me a comment if you try it!

I used vegetable stock to bring the liquid level up higher – about half way up the roast. Let it come up to a bubble and cover it with the lid. Place it in the oven at 350 degrees for about 3 hours.
You’ll be able to tell it is done by pulling at it with a pair of tongs. If the meat pulls apart easily, it’s done. If it doesn’t pull apart, just put it back in the oven and check it periodically.

Once again, you can make gravy with the braising liquid or just use it as-is. I served this pork with roasted mixed fall veggies and rice. I added it to my version of an Asian noodle bowl with bok choy, rice noodles, and ginger flavored broth. I also made a stuffed squash with a mixture of pork, mushrooms, rice, and cheese.
Braising does take time, but if you make more than you need for one meal, you can freeze it. I have made so many dishes using the meat that I braised and saved in the freezer. Just portion out about 1 cup per freezer bag. If you add a little of the braising liquid to the bag that you freeze it in, the meat will still be moist when you defrost it. Check back for upcoming recipes and ideas for using the braised meats – I have a lot!