Febrewary Homebrew Crawl 2013 – preparations

A good bunch of my friends (including Me and Dan) like to brew our own beer.

The past two years in February, we had our own home brew competition. We all came together and set up a brew crawl across the town of Lancaster. A majority of the participants live in Lancaster city so it was pretty easy to hop from house to house. Brewers that don’t live in town just match up with someone who does, giving us a lot of brews to taste!

I’ll post some of the past years beers in a few days, but for now I just wanted to share some of this year’s preparations from Dan and Marisa’s House!

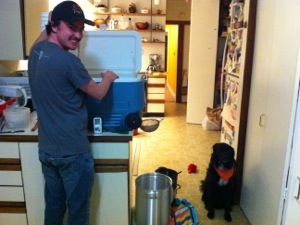
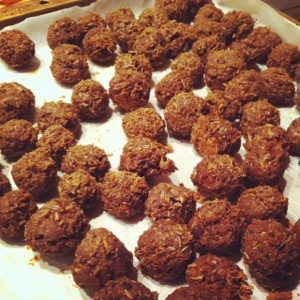
We tried to brew a brown ale this year. It turned out to be a not-quite-brown-ale. Brewing got a little interesting as we discovered we did not have a pot large enough to hold this all grain batch. We rigged something up and got it done… we steeped it in the cooler… monk was a little worried about it. I wrote a post about brewing this batch back in November – check it out for the dog biscuit recipe.

IMG_8539

IMG_8545

IMG_8547

If you have been reading this blog you probably know that I love to make pickles. I’ve been playing with the idea of making pickles with hops in them for a while now. I tried several batches with different hops. I finally found one that is AWESOME! I used cascade hops steeped in the brine.

20130222-173146.jpg

I believe they came out quite delicious. I can not wait for the home brew crawlers to try them!

20130222-172332.jpg

I will even admit, the cascade hops were so good steeped in the pickle brine that I ate a few right out of the pot. I can not say the same for some of the other varieties of hops.

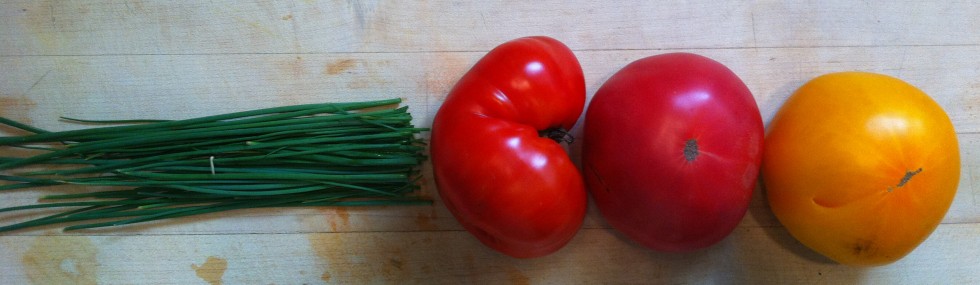
I also had this idea to pickle some carrots in the hop brine… it was a great idea.

20130222-172351.jpg

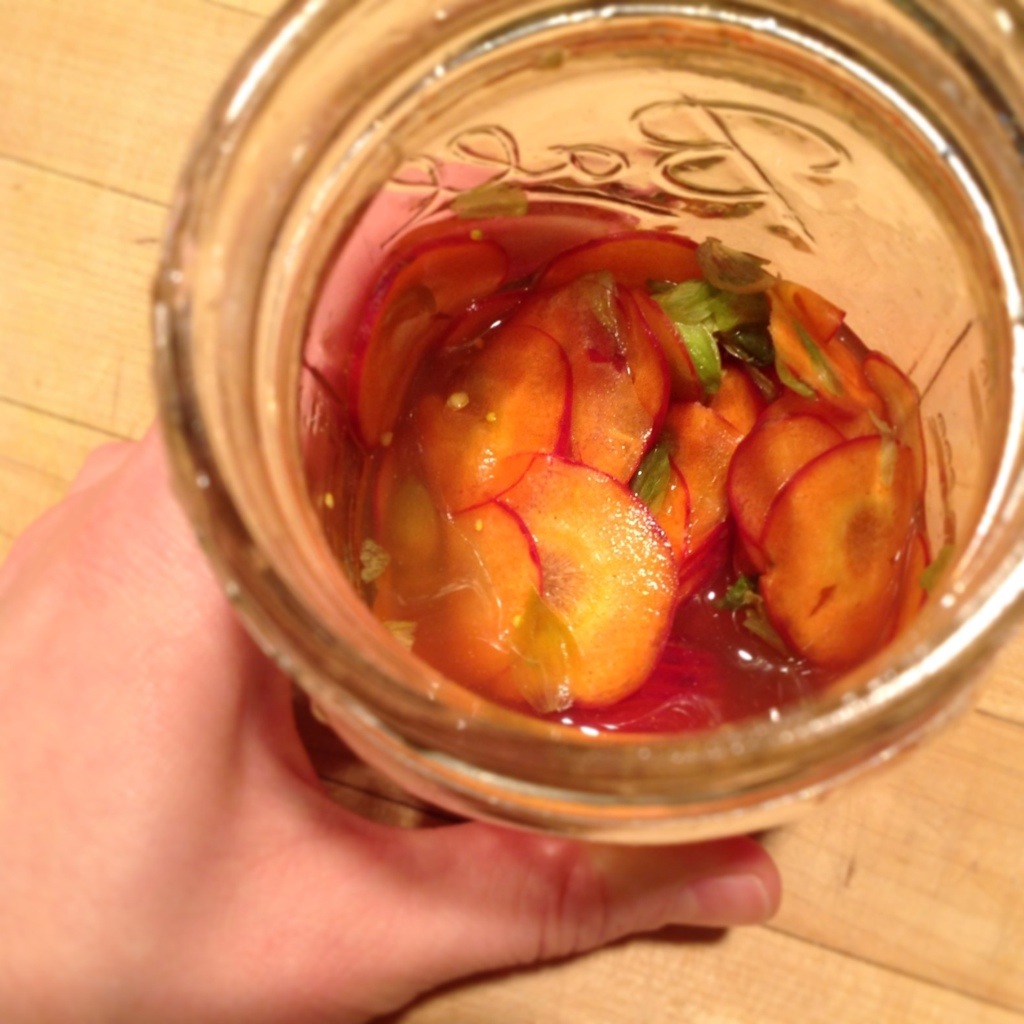
I ended up with two pickle varieties for the brew crawl:

Cascade Garlic Hop Pickles

Centennial Dill and Garlic Hop Pickles

I haven’t tried the dill batch yet so I hope they are good!

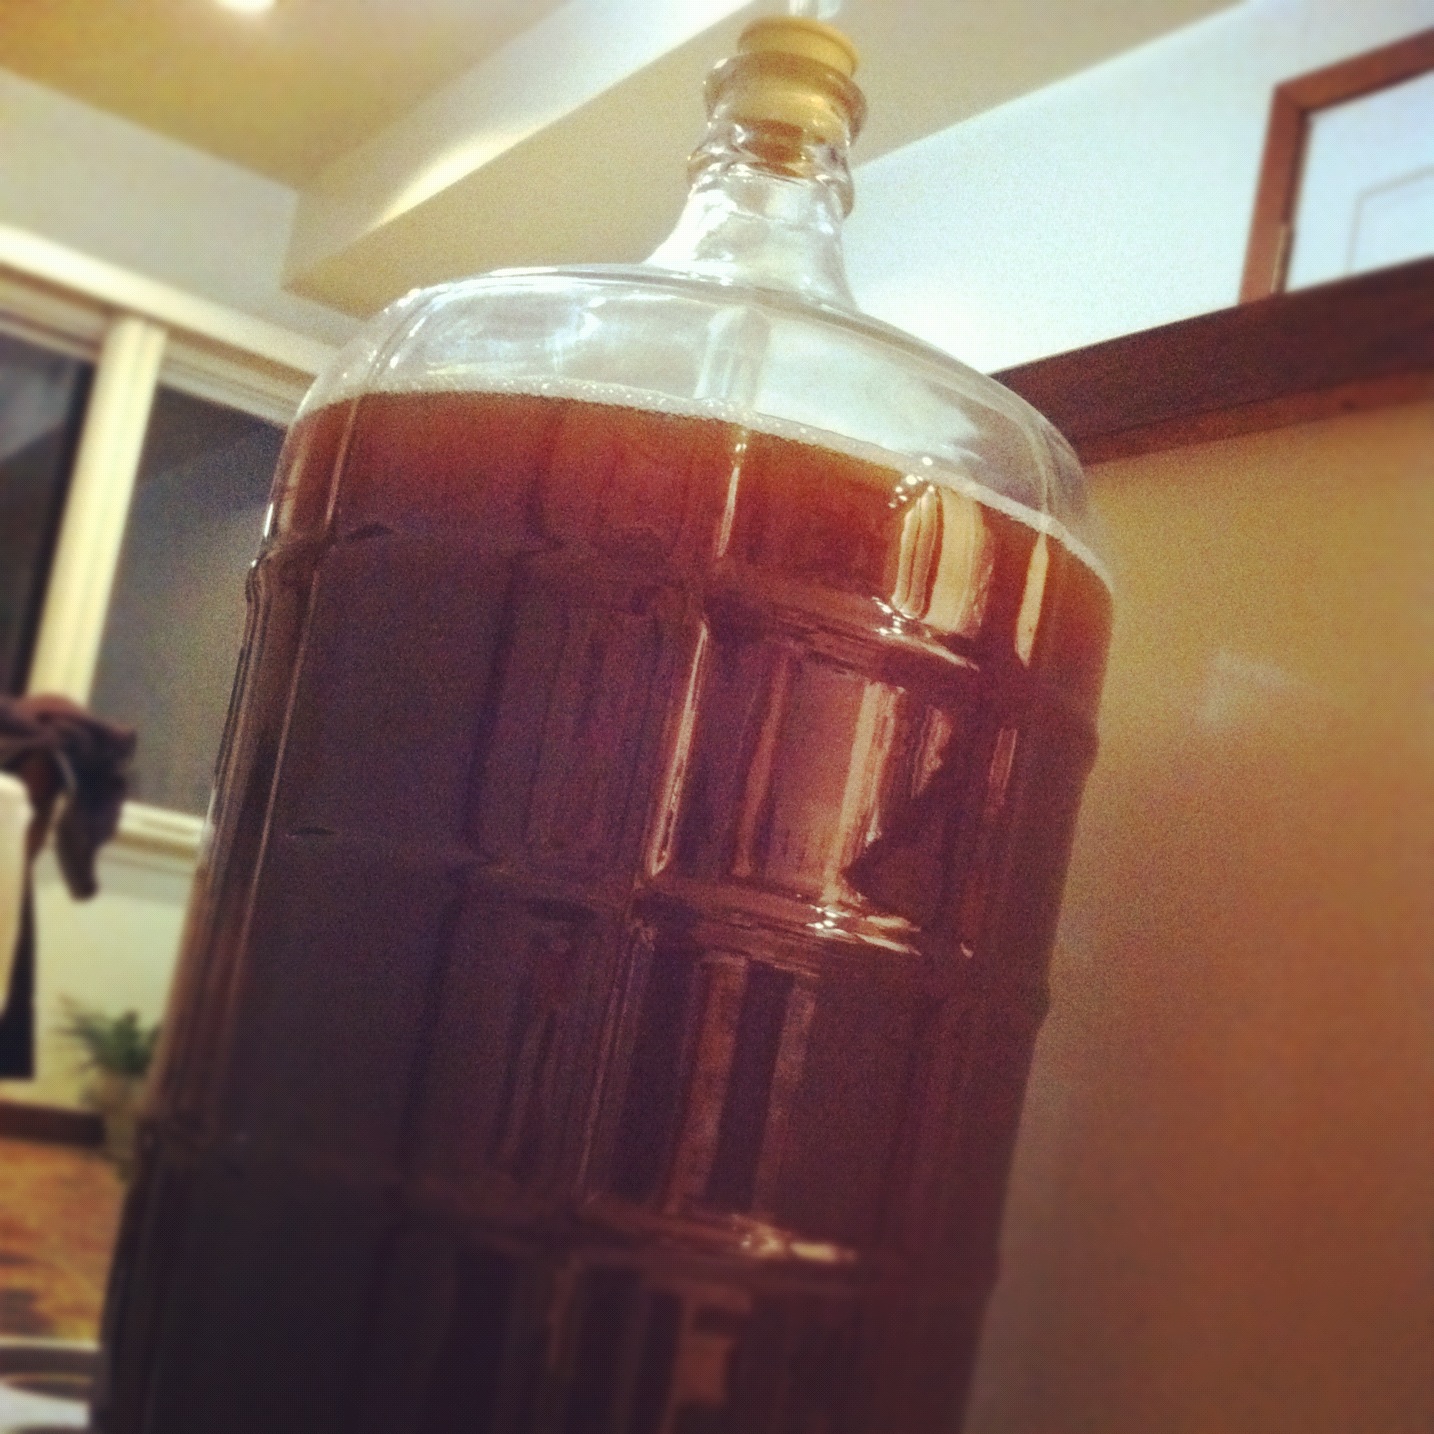
I also made a new soda…

20130222-172434.jpg

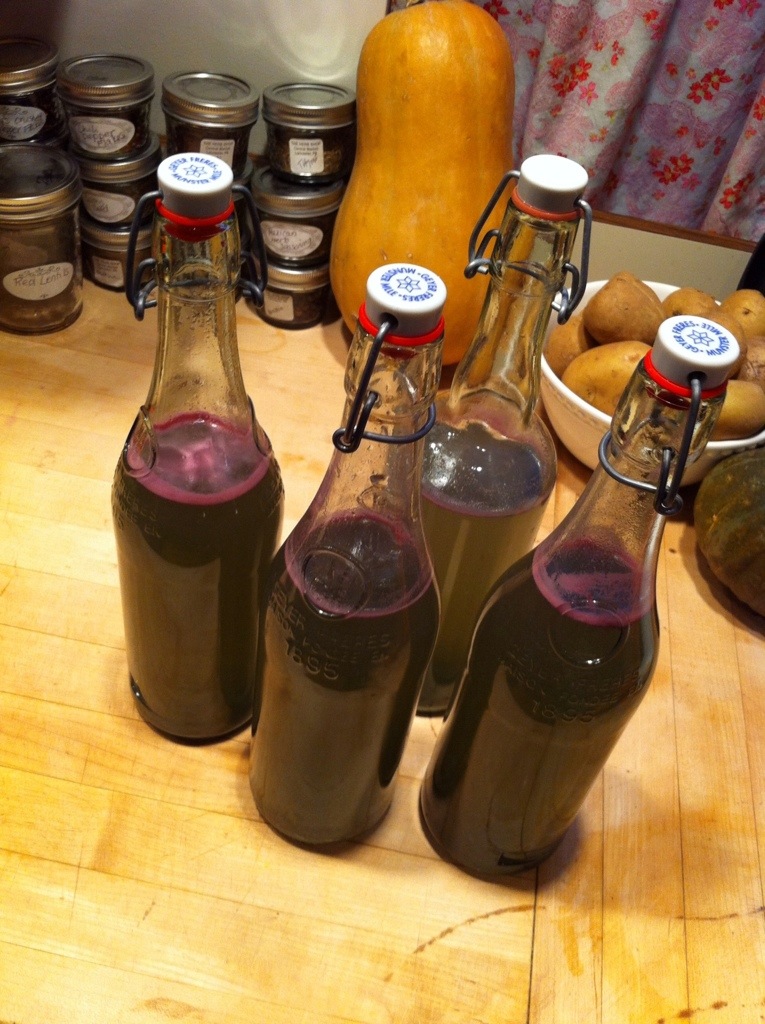
Wild Huckleberry Honey Ginger Ale

I used wild huckleberry creamed honey that I found at a beautiful winery in California and fresh ginger. I am fermenting it with champagne yeast so it’s nice and bubbly. I know it’s not beer but I really like to experiment and make new things like this… it is fermented so I think it fits… and when else am I going to get to test it out on this many tasters?

I’ll let you know how the 3rd annual home brew crawl goes. I am sure there will be some awesome home brews. There are two ribbons awarded: one chosen by the official judge and one chosen by the voting crawlers.

Walking around town in the crisp febreway air, tasting good beer, all in good company… I think everyone is a winner during this event!

Advertisement

Home Brewing and Spent Grain Dog Treats

20121126-174330.jpg

We spent Sunday home brewing our next beer for an event that our friends put together called Fe-brew-ary – more on that event in a later post. I think this batch is going to come out good, but time will tell…

We brewed an all-grain batch of brown ale this time. We used a lot of grains… too many for our pot… so we ended up rigging up this cooler system. It was pretty funny, but it worked.

20121126-174310.jpg

Throughout our brewing process, the dog seemed a little stressed out that we were rearranging the kitchen. He’s in the picture above looking distraught.

Making an all-grain batch of beer leaves you with A LOT of spent grains. It seems like such a waste to throw them out so I started making Monk some doggie treats out of them. Maybe if he knows treats come after beer he will relax a little.

A little FYI – Dog can not have hops!! It can really hurt them. You can read about it here. The spent grains come from the step in the beer making process BEFORE you add hops – so they are safe to use. If there are hops mixed in with your grains, do not use them for dog treats! Here is our boiling pot after we added hops… don’t let your doggie get into that!

20121126-174339.jpg

For the dog treats:

Collect about 4 cups of the spent beer grains and drain them well. The more moisture they contain, the longer your biscuits will take to dry out.

In a stand mixer combine 2 1/2 cups flour, 4 cups of spent grains, two large eggs, and about 1 cup of peanut butter. Mix until everything is combined.

You can make the treats two ways: squares or roll them into small balls, just like mini meatballs! It is kind of difficult to make them into other shapes because the dough is super sticky, not really cookie cutter friendly.

To make the mini meatballs, just roll the dough out into small balls and place them on the tray. It’s ok if they touch a little bit because they will break apart. Bake the treats for 1 hour at 350 degrees F for about an hour. Break up any treats that have stuck together and turn the oven down to 200 degrees F. Let the treats bake for a few hours, or until they are hard. Make sure they dry out throughly or else you won’t be able to keep them for long… they will get moldy!

20121126-174349.jpg

To make square biscuits, spread the mixture onto a sheet pan in a layer about 1/4 inch thick. Bake it at 350 degrees F for about an hour. Remove the pan from the oven and cut the sheet into smaller bite size squares. Separate the squares, turn down the oven to 200 degrees F and place them back in the oven for a few hours. Make sure they dry out, remember they won’t keep if they are still moist inside. If you use this method, make sure you cut the treats after an hour – If you bake it for too long and let the whole pan get hard it is really difficult to break apart.

Another variation is to add some beef flavoring to the treats instead of peanut butter. I recommend using these new concentrated broth packets made by Knorr. There’s a lot of flavor packed into the little packet and it won’t make your treats too wet like adding regular stock would.

I hope your doggie likes them… Monk does! He patiently waits for them to come out of the oven.

20121126-175259.jpg20121126-174416.jpg

Make your own soda

I’ve made my own ginger ale a few times now. It’s surprisingly easy to make your home-made soda.

Before you start, you’ll want to make sure you have some proper bottles to put your soda in. You could bottle the soda in regular beer bottles if you have the equipment.You’ll need clean beer bottles, caps and a capper that you can get at your local home brew shop. If you’re in the Lancaster area try Mr. Steve’s Homebrew or Lancaster Homebrew. There are also tons of places online to get home brewing supplies.

I like to use swing top bottles that have a rubber seal. It’s easier than bottling using caps and the bottles that I use are clear so you can see the soda.

The first step is to make a ginger syrup:

12 oz. fresh ginger root

1 cup organic cane sugar

1 cup water

Remove the skin from the ginger root, cut it in small pieces, place it in a food processor and shred the ginger until it is very finely ground up. Place the ground up ginger root, 1 cup of sugar, and 1 cup of water in a small sauce pot and bring to a boil. Allow the mixture to boil until the sugar has dissolved, turn the heat off, cover the pot and allow to steep for one hour.

After an hour, the syrup should be cool enough to handle. Use a piece of cheese cloth to strain the syrup into a clean jar. Squeeze any juice out of the left over pulp that you can by twisting it in the cheese cloth.

You can use this syrup for more than just the soda. You could mix a little bit into your maple syrup to serve on top of waffles. It’s nice to add a little on top of vanilla or honey ice cream, or if you have an ice cream maker… you can use it to make your own ginger ice cream. Mixing it into fruit salad can add a new twist to a simple dessert. You can use it in anything where you would use simple syrup, great for cocktails!

To make the soda:

To a clean 1 liter bottle, add 6 oz. of the ginger syrup and a pinch (about 20 granules) of champagne yeast. You can find champagne yeast at the home brew store for pretty cheap, you can also use bread yeast if you really can’t find it but I do not think it works as well.

Fill the bottle up to the bottom of the neck with filtered water. It’s important to leave a little space so you don’t have too much pressure build up in the bottle. Once the yeast starts working, carbon dioxide gas will be produced. Leave the bottles at room temperature for 48 hours. After 48 hours you can place your bottles in the refrigerator. The refrigeration will stop the yeast from producing carbon dioxide.

I have read a lot of warnings that bottles can explode if you add too much yeast, leave it at room temperature for too long, or fill the bottle too much. I have never had this happen to me, but just be aware that it is a possibility.

You could make a great Dark and Stormy with your home-made ginger ale or a very simple ginger and whiskey cocktail.

Just add 1 oz of good quality whiskey to 8 oz of ginger ale -simple and delicious.

If you like the rooster glass, they came from  pier one imports.  I don’t think they have them any more but you could find similar ones here.  I received my rooster glasses for my birthday one year from one of my very good friends. They are a perfect size for making a small mixed drink or serving up your morning glass of OJ.